備忘録としてまとめます。
ざっくりとやった内容です。
- AWSでEC2インスタンスをたてる
- EC2内にLAMP環境を構築
- EC2内にWordPressをインストール
- 旧WordPressからデータをエクスポート
- 新WordPressへデータをインポート
- Route53でサブドメインを切る
- Let’s Encryptで証明書発行
- 諸々の設定ファイルを書く
AWSでEC2インスタンスをたてる
主に参考にした記事です。
Amazon EC2 Linux インスタンスの開始方法 - Amazon Elastic Compute Cloud
注意するポイントとして
Amazon Linux 2ではなくAmazon Linux AMIを使用します。
好みの問題かもしれないですが
Amazon Linux 2
$ sudo amazon-linux-extras install -y lamp-mariadb10.2-php7.2 php7.2
Amazon Linux AMI
$ sudo yum install -y httpd24 php70 mysql56-server php70-mysqlnd
この違いです。
amazon-linux-extrasではなくyumを使いたかったので
Amazon Linux AMIを使用しました。
セキュリティグループは下記のとおりです。
SSH: ポート範囲22
HTTP: ポート範囲80
HTTPS: ポート範囲443
鍵を作成したら.ssh配下に移動します。
$ mv ~/.Downloads/HogeKeyName.pem ~/.ssh/
権限の変更をします。
$ chmod 600 HogeKeyName.pem
主に参考にした記事です。
チュートリアル: Amazon Linux AMI を使用して LAMP ウェブサーバーをインストールする - Amazon Elastic Compute Cloud
インスタンスにログイン
_52.196.242.22_の部分は
たてたインスタンスのパブリックIPを入力して下さい。
$ ssh ec2-user@52.196.242.22 ~/.ssh/HogeKeyName.pem
OSを更新します。
$ sudo yum update -y
Apache,MySQL,phpをインストール
$ sudo yum install -y httpd24 php70 mysql56-server php70-mysqlnd
Apacheを起動します。
$ sudo service httpd start
OS再起動時に、Apacheも起動するように設定します。
$ sudo chkconfig httpd on
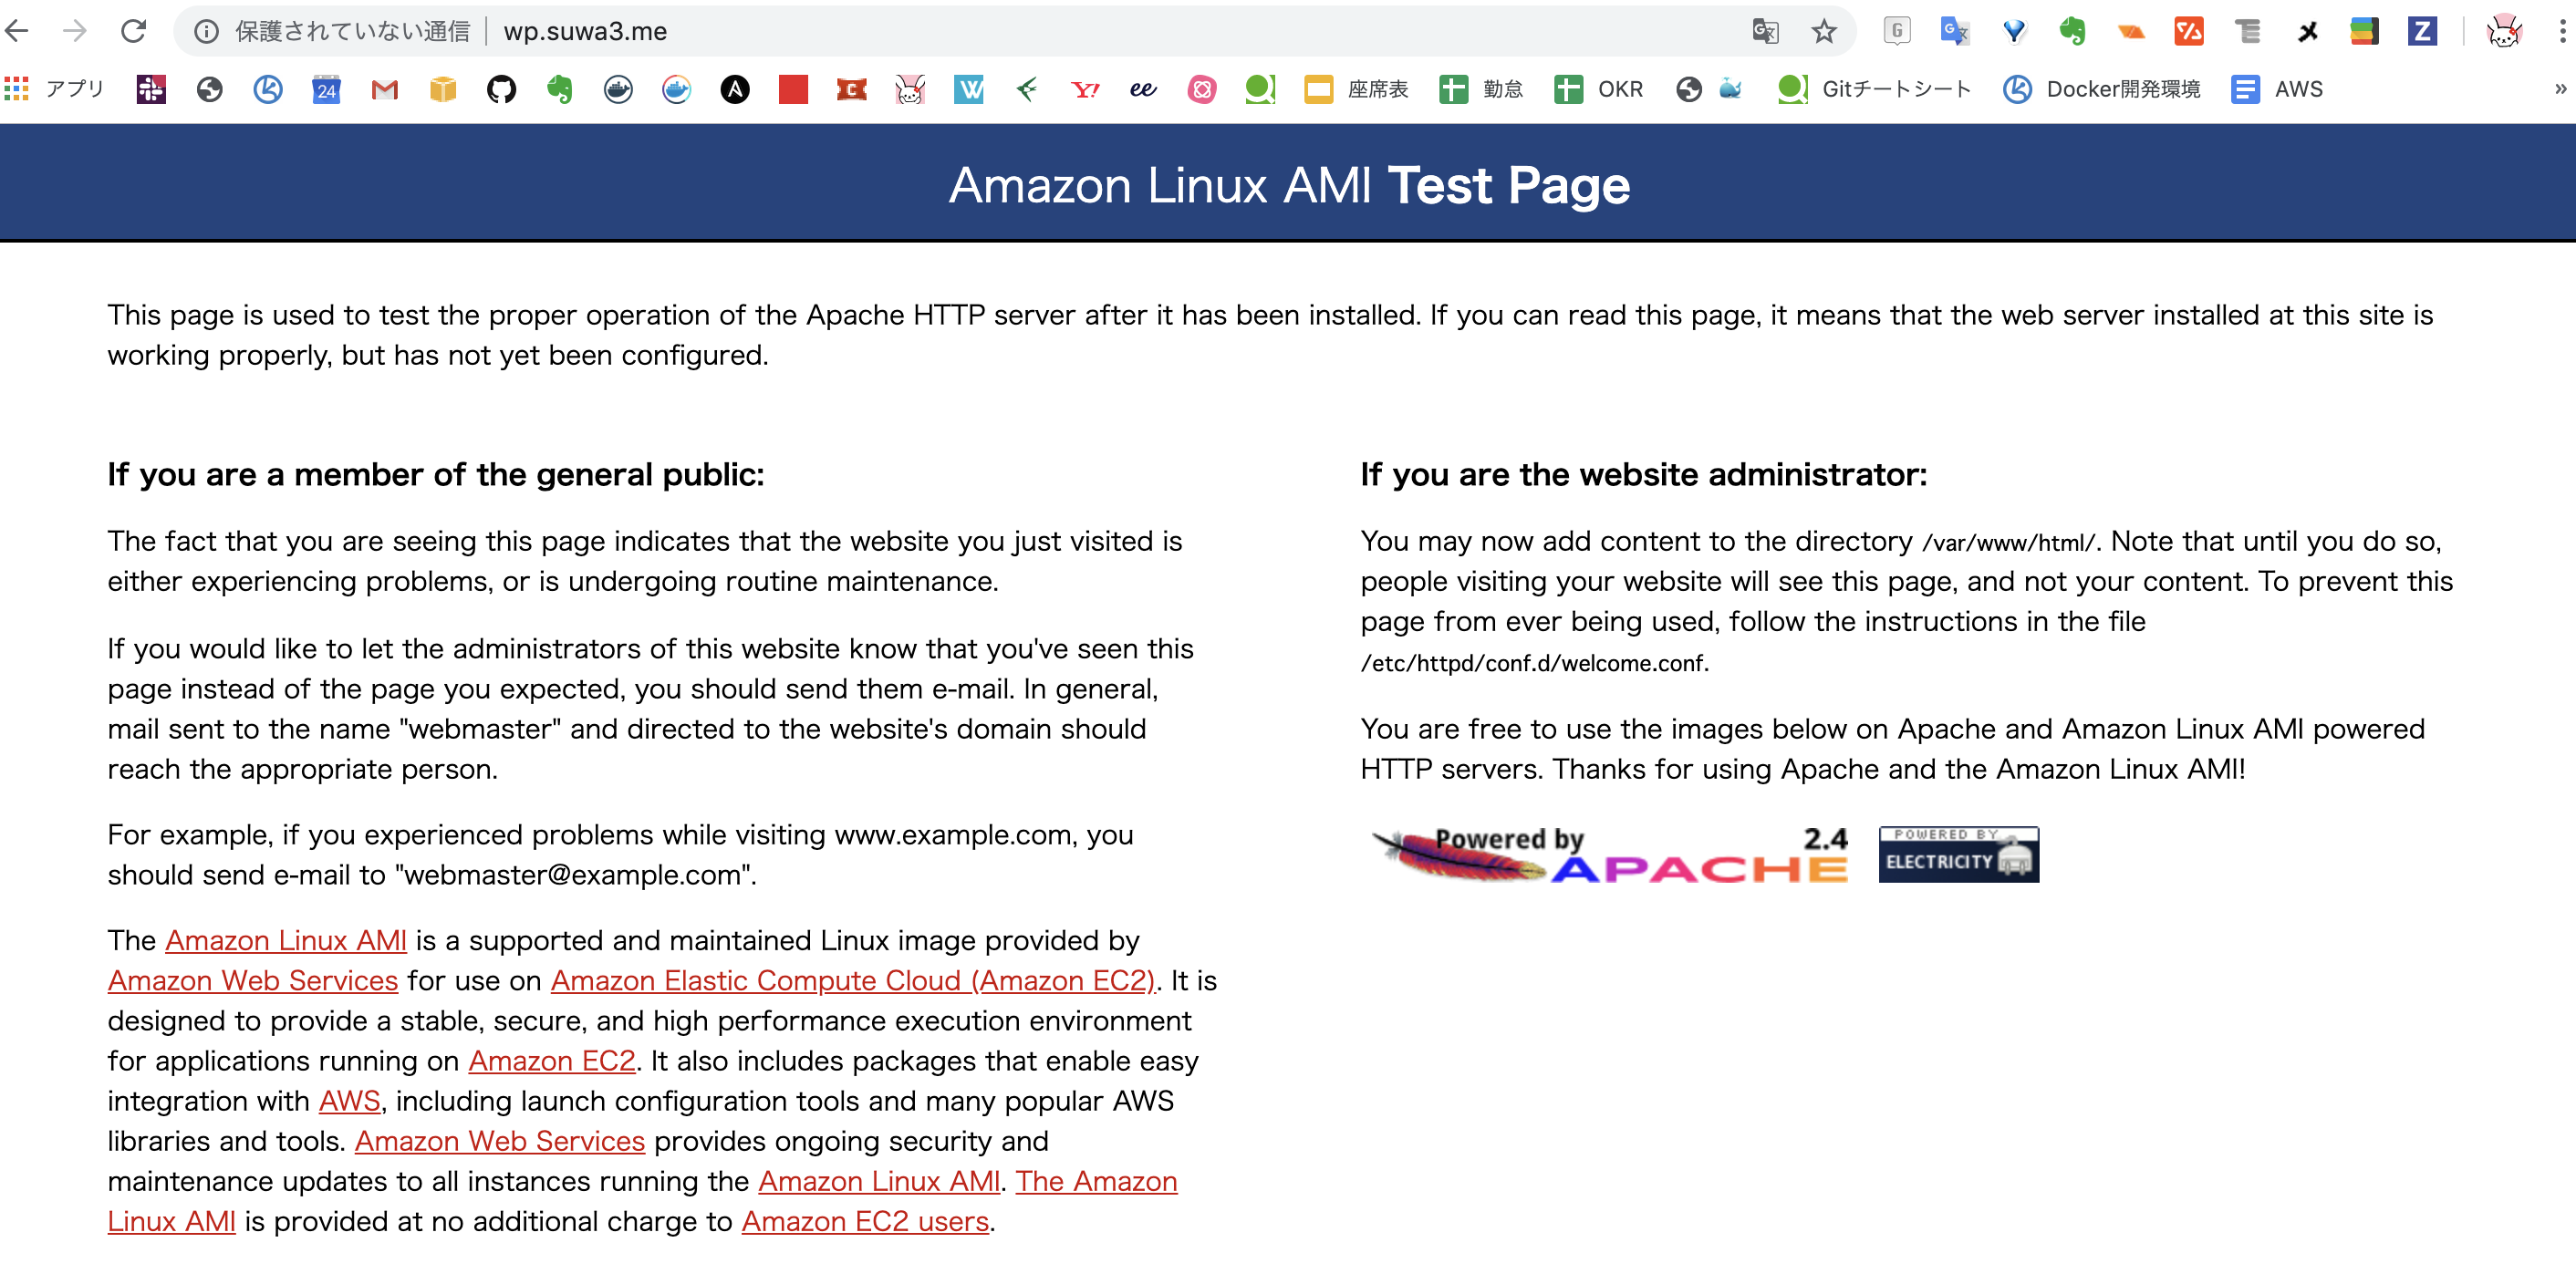
ブラウザを開いて、_52.196.242.22_などのドメインを入力すると

このような画面が表示されます。
ec2-userなどをapacheグループに追加
$ sudo usermod -a -G apache ec2-user
/var/wwwのグループ所有権をapacheに変更します。
$ sudo chown -R ec2-user:apache /var/www
グループの書き込みを許可するため
/var/wwwと、その下にあるディレクトリの権限を変更します。
$ sudo chmod 2775 /var/www $ find /var/www -type d -exec sudo chmod 2775 {} \;
ファイルの権限も同様に変更していきます。
$ find /var/www -type f -exec sudo chmod 0664 {} \;
MySQLを起動
$ sudo service mysqld start
$ sudo mysql_secure_installation
最初はNo Passwdのため空欄でEnterです。
Y: ルートパスワードを2回設定します。
- 匿名ユーザーアカウントを削除
- リモートルートログインを無効
- テストデータベースを削除
- 権限テーブルを再ロードし、変更を保存
すべてYesのため「Y」と入力します。
phpMyAdminをインストール
phpMyAdmin: GUIでMySQLを編集できるDB接続クライアントです。
依存パッケージをインストールします。
$ sudo yum install php70-mbstring.x86_64 php70-zip.x86_64 -y
Apacheを再起動します。
$ sudo service httpd restart
Apacheのドキュメントルートに移動します。
cd /var/www/html
最新のパッケージをDLします。
$ wget https://www.phpmyadmin.net/downloads/phpMyAdmin-latest-all-languages.tar.gz
ディレクトリを作成してパッケージを展開します。
$ mkdir phpMyAdmin && tar -xvzf phpMyAdmin-latest-all-languages.tar.gz -C phpMyAdmin –strip-components 1
不要なファイルを削除します。
$ rm phpMyAdmin-latest-all-languages.tar.gz
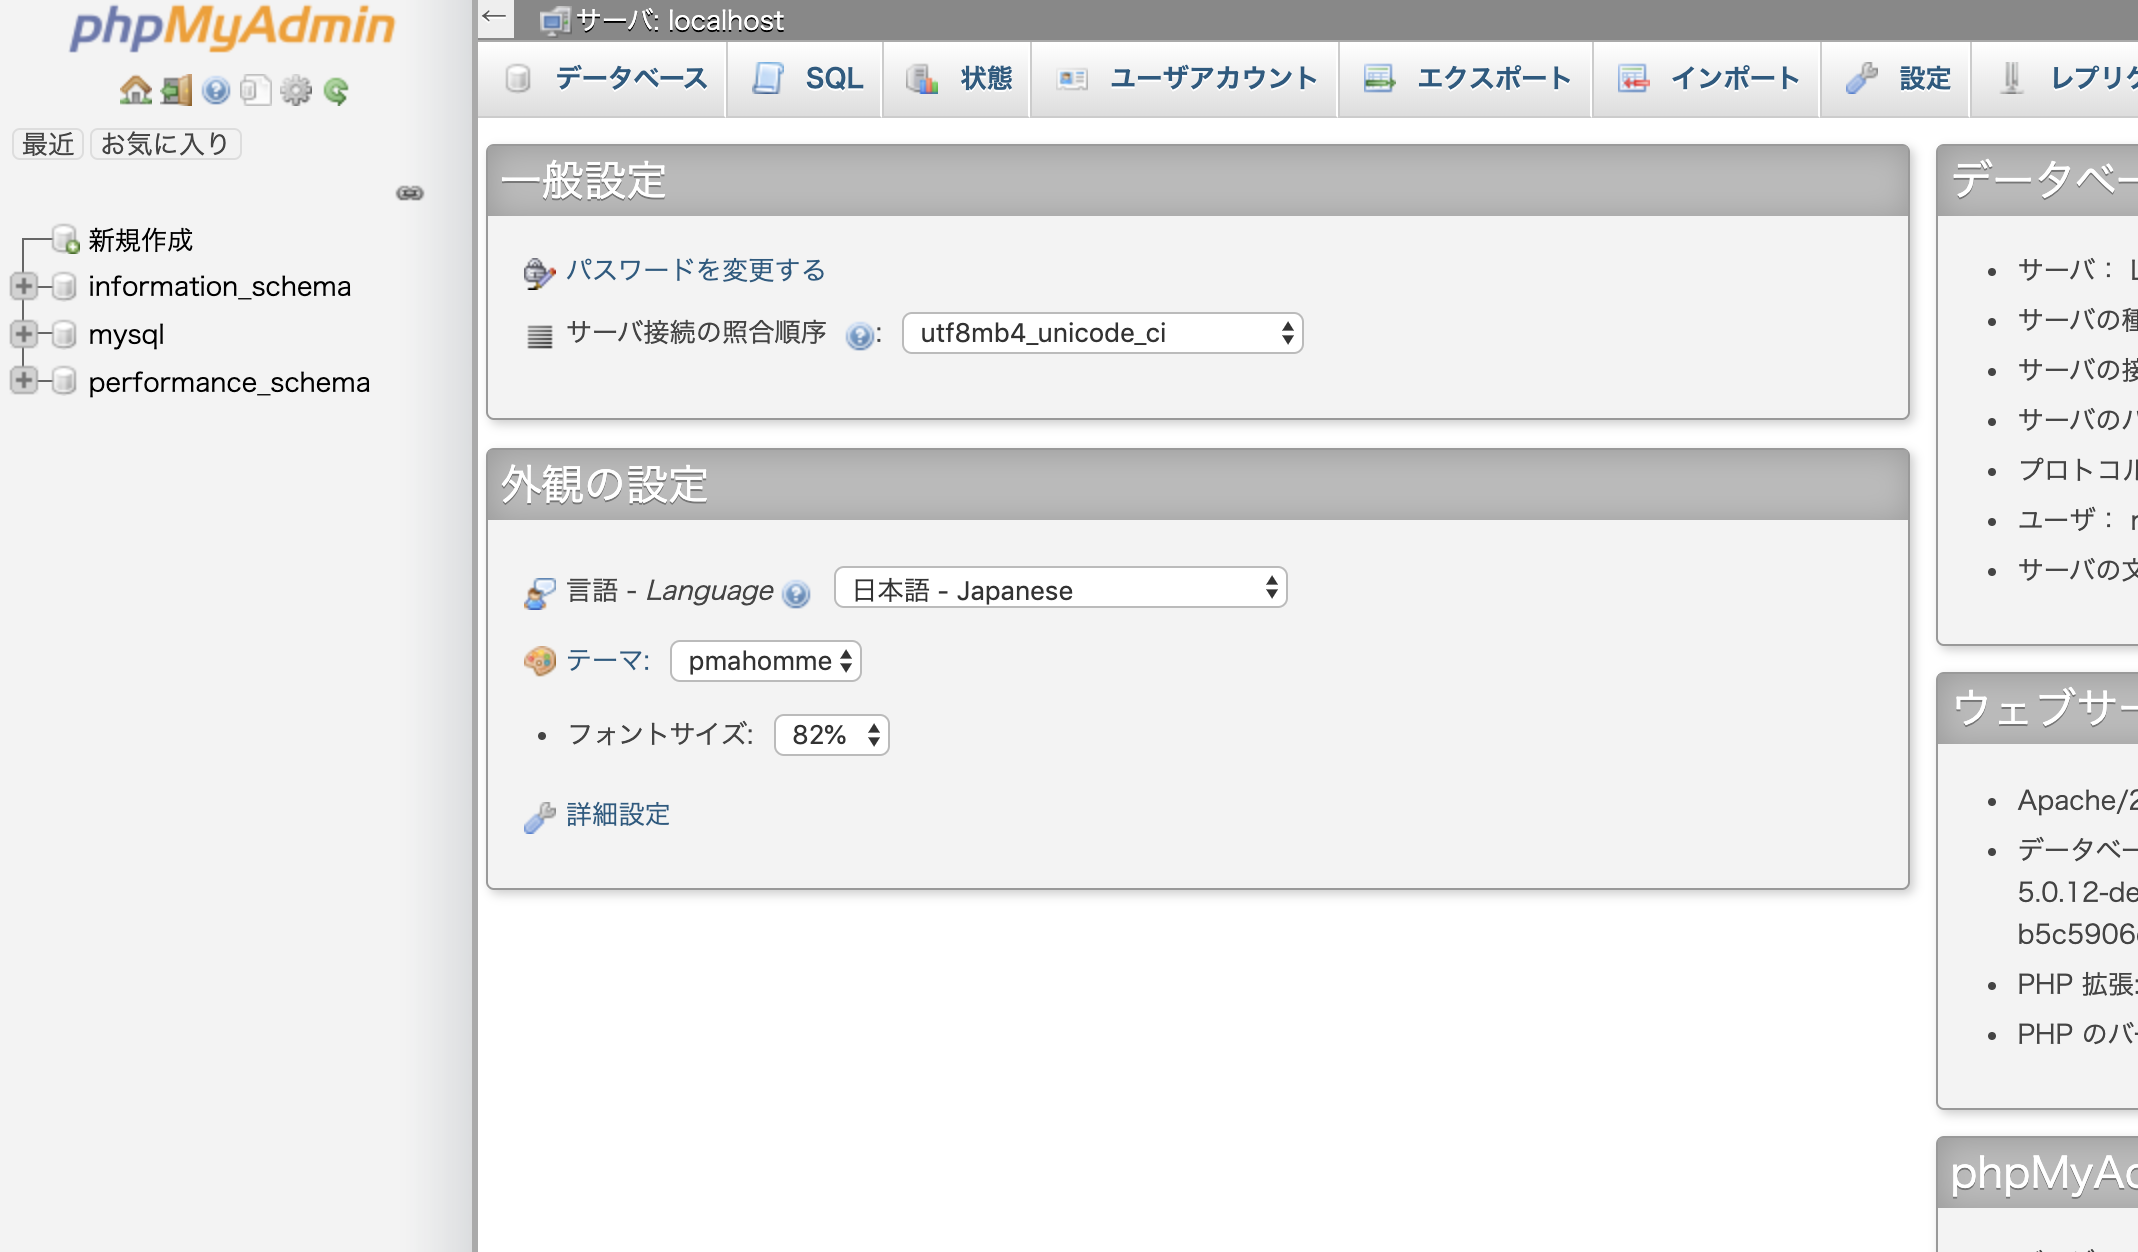
ブラウザで以下にアクセスしてみます。
http://パブリックIP or ドメイン/phpMyAdmin
Username: root
Password: MySQLのルートパスワード
で、ログインします。

表示されました👏
EC2内にWordPressをインストール
主に参考にした記事です。
チュートリアル: Amazon Linux を使った WordPress ブログのホスティング - Amazon Elastic Compute Cloud
WordPressインストールパッケージをDLします。
$ wget https://wordpress.org/latest.tar.gz
解凍します。
$ tar -xzf latest.tar.gz
DBの設定をします。
そのため、まずDBを起動します。
$ sudo service mysqld start
DBにログインをします。MySQLのルートパスワードを入力します。
$ mysql -u root -p
MySQLにユーザー名/パスワードを設定することが出来ます。
WordPressインストール時のDB接続設定に使用します。
CREATE USER ‘wordpress-user’@‘localhost’ IDENTIFIED BY ‘your_strong_password’;
DBを作成します。
CREATE DATABASE wordpress-db;
作成したDBにユーザー権限の設定を行います。
wordpress-dbはバッククオート`で囲ってください。
GRANT ALL PRIVILEGES ON wordpress-db.* TO “wordpress-user”@“localhost”;
設定を反映させます。
FLUSH PRIVILEGES;
MySQLから抜けます。
exit
wp-config.phpの設定
デフォルトであるwp-config-sample.phpをwp-config.phpという名前で複製します。
$ cp wordpress/wp-config-sample.php wordpress/wp-config.php
wp-config.phpを編集します。
$ vi wordpress/wp-config.php
define(‘DB_NAME’, ‘wordpress-db');
define(‘DB_USER’, ‘wordpress-user');
define(‘DB_PASSWORD’, ‘your_strong_password');
WordPressをウェブサーバーのドキュメントルート配下に移動
今のままだとドキュメントルートである/var/www/html下にWordPressというディレクトリがワンクッションとしてあり、blogを表示する際にURLが長ったらしく感じるのでWordPressディレクトリの中身をドキュメントルート配下に移動させます。(好みの問題なのでスキップしても構いません)
WordPress配下にあるものすべてをカレントに移動します。
$ mv WordPress/* .
WordPressディレクトリは重複してしまうため削除します。
$ rm -rf WordPress
WordPress がパーマリンクを使用できるようにする
httpd.conf内にあるAllowOverRideの設定を変更します。
AllowOverRide: .htaccessで使用できるディレクティブを指定する為のディレクティブ
- None
.htaccess では何も設定できません。
- All
.htaccess で設定可能なものは全て有効になります。
$ sudo vim /etc/httpd/conf/httpd.conf
<Directory "/var/www/html">
#
# Possible values for the Options directive are "None", "All",
# or any combination of:
# Indexes Includes FollowSymLinks SymLinksifOwnerMatch ExecCGI MultiViews
#
# Note that "MultiViews" must be named \*explicitly\* --- "Options All"
# doesn't give it to you.
#
# The Options directive is both complicated and important. Please see
# http://httpd.apache.org/docs/2.4/mod/core.html#options
# for more information.
# Options Indexes FollowSymLinks
#
# AllowOverride controls what directives may be placed in .htaccess files.
# It can be "All", "None", or any combination of the keywords:
# Options FileInfo AuthConfig Limit
# **AllowOverride _`None`_**
#
# Controls who can get stuff from this server.
# Require all granted </Directory>
~~~~~~~~~~~~~~~~
`AllowOverride None` 行を ``AllowOverride _`All`_`` に変更します。
### **Apache ウェブサーバーのファイル許可を修正**
Apacheにドキュメントルートへの書き込み権限を与えていきます。
ファイル所有権を付与します。
$ sudo chown -R apache /var/www
グループ所有権を付与します。
$ sudo chgrp -R apache /var/www
グループの書き込みを許可するため
/var/www配下ディレクトリの権限変更は、既にしてあるので省きます。
## 旧WordPressからデータをエクスポート
主に参考にした記事です。
[Export / Import Content | Move to Self-Hosted WordPress](https://move.wordpress.com/exportimport-content/)
WordPress.comダッシュボードから

画像一番下のエクスポートを選択します。
ダウンロードリンクがメールで送られてくるため、保存します。

## 新WordPressへデータをインポート
ブラウザで新しくたてたWordPressのドメインを指定して
DB接続を行ったあと、ダッシュボードにログインをします。

ツールからインポートを選択して、WordPressの「今すぐインストール」より、[WordPress Importerプラグイン](https://wordpress.org/plugins/wordpress-importer/)をインストール後にインポーターを実行します。
zipファイルを解凍するとディレクトリ内に.xmlファイルがあるため、選択してインポートします。
データ量が多い場合、かなり時間がかかるのでコーヒーなどを飲みながら気長に待ちます。
## Route53でサブドメインを切る
独自ドメインのサブドメインで運用をしたかったので
Route53で設定を行いました。
NSを指定して「レコードセットの作成」を選択します。

切りたいサブドメインを指定して
CNAMEで名前をつけます。
値にはEC2インスタンスのエンドポイントを指定します。

レコードセットの保存をして、完了です。
## Let’s Encryptで証明書発行
今のままではhttps://での接続ができないため
証明書を発行します。
主に参考にした記事です。
[AWS EC2のAmazon LinuxでLet's Encryptのサーバ証明書を取得する - Qiita](https://qiita.com/kanehara/items/a2c322acc3d2a96ff42d)
root権限でLet's EncryptのクライアントソフトCertbotをインストール
$ sudo su -l
\# wget https://dl.eff.org/certbot-auto
\# chmod +x certbot-auto
certbot-autoコマンドを実行します。
\# ./certbot-auto --debug
ホスト名を指定して、証明書を取得します。
\# ./certbot-auto certonly --webroot -w /var/www/html -d wp.suwa3.me --no-bootstrap
## 諸々の設定ファイルを書く
Apacheに証明書を設定します。
以下、参考としてhttpd.conf設定ファイルを置きます。
\# vim /etc/httpd/conf/httpd.conf
Listen: Allows you to bind Apache to specific IP addresses and/or
ports, instead of the default. See also the
directive.
Change this to Listen on specific IP addresses as shown below to
prevent Apache from glomming onto all bound IP addresses.
Listen 12.34.56.78:80
SSLEngine On SSLProtocol all -SSLv2
SSLCertificateFile /etc/letsencrypt/live/wp.suwa3.me/cert.pem SSLCertificateKeyFile /etc/letsencrypt/live/wp.suwa3.me/privkey.pem SSLCertificateChainFile /etc/letsencrypt/live/wp.suwa3.me/chain.pem
Listen 80 Listen 443